

In today’s digital world, the ability to communicate ideas effectively is a superpower. For GCE O/L ICT students, Lesson 8: Electronic Presentations provides the framework for creating high-impact, professional slide decks.
By combining the structural guidelines from our LMS with the SchoolICT.net Presentation Simulator, you can learn to build slides that don’t just look good, but truly inform.
1. What is an Electronic Presentation?
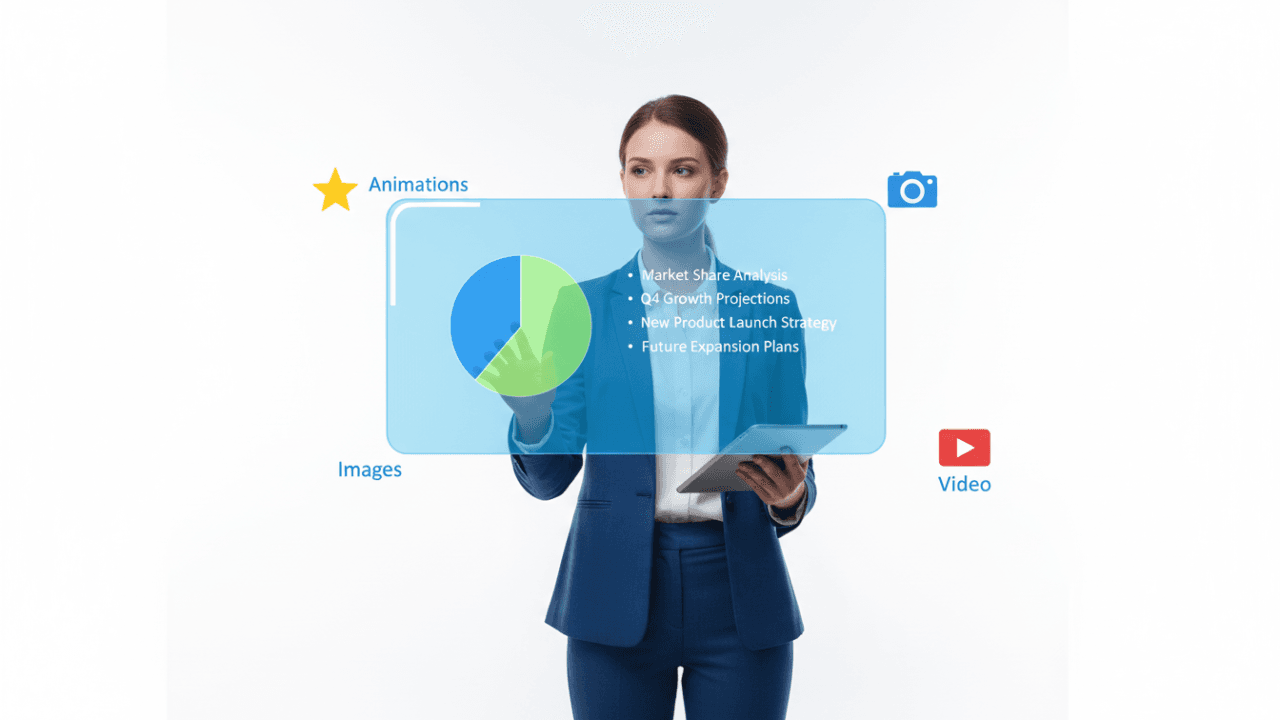
An electronic presentation is a sequence of slides used to deliver information to an audience. Unlike a simple document, it integrates multiple media types to keep the audience engaged.
Core Elements:
- Text: Bullet points and headings.
- Graphics: Images, charts, and diagrams.
- Multimedia: Audio and video clips.
- Interactivity: Hyperlinks and action buttons.
2. Designing for Your Audience
A common mistake in the O/L exam is ignoring design principles. To create an effective presentation, follow these rules:
- The 6×6 Rule: No more than 6 lines per slide and 6 words per line.
- Font Choice: Use “Sans Serif” fonts (like Arial or Calibri) for better readability on screens.
- Contrast: Use light text on a dark background or dark text on a light background.
- Consistency: Keep the background and font styles the same across all slides.
3. The Power of the Slide Master
The Slide Master is one of the most important concepts in the O/L syllabus. It is the “Top Slide” that stores information about the theme and layouts of a presentation.
Why use it?
- If you want a school logo to appear on every slide, you only need to add it once to the Slide Master.
- It ensures a consistent look (font, color, and size) throughout the entire workbook.
- Changing a heading style in the Slide Master automatically updates every slide in your presentation.
4. Transitions vs. Animations
Students often confuse these two terms. Here is the simple distinction:
- Transitions: Visual effects that occur when moving from one slide to another. (e.g., Fade, Push, Wipe).
- Animations: Visual effects applied to individual objects (text, images, or charts) on a single slide. (e.g., Fly-in, Spin, Zoom).
5. Different Presentation Views
Standard presentation software (like Microsoft PowerPoint or LibreOffice Impress) offers several views:
- Normal View: Used for creating and designing slides.
- Slide Sorter View: Shows thumbnails of all slides; best for reordering slides.
- Notes Page View: Allows the presenter to add speaker notes that aren’t visible to the audience.
- Slide Show View: Displays the presentation in full-screen mode for the audience.
6. Interactive Learning: Presentation Simulator
At SchoolICT.net, our Presentation Learning Tool allows you to practice the interface without needing external software.
What you can do with the tool:
- UI Exploration: Identify the Ribbon, Status Bar, and Slide Pane in a simulated environment.
- Transition Tester: Apply different transitions and see how they affect the flow of a presentation.
- Multimedia Integration: Practice placing images and videos within slide placeholders.
- View Switcher: Move between Slide Sorter and Normal views to understand how slide management works.
7. Delivering the Presentation
Success isn’t just about the slides; it’s about the delivery:
- Navigation: Use the spacebar, mouse clicks, or arrow keys to move forward.
- Shortcuts: Pressing F5 starts the slideshow from the beginning; Shift + F5 starts it from the current slide.
- Hardware: Know the role of the Multimedia Projector and the Remote Pointer.
8. Exam Success Tips for O/L Students
- Slide Master Logic: If a question asks how to apply a logo to 50 slides simultaneously, the answer is always “Slide Master.”
- View Selection: Know that “Slide Sorter” is the best view for deleting or moving multiple slides at once.
- Printing Options: Familiarize yourself with “Handouts”—printing multiple slides on a single sheet of paper for the audience.
- Audio/Video Formats: Review common formats like .MP3 (audio) and .MP4 (video) which are frequently used in presentations.
Conclusion: From Slides to Stories
Mastering Lesson 8 transforms you from a student into a communicator. Whether you are presenting a science project or a business idea, these skills are essential. Use our LMS notes to master the theory and the interactive simulator to build your confidence.
Ready to present?


Leave a Reply